BLOGLOVIN'

Follow

Monday 12 October 2015

Goldhawk Rd fabric haul

I ve got a few days off so am busy with a few sewing projects and treated myself to a trip to Goldhawk Rd today.  Here is my fabric haul!!

Recently I bought some lovely fabrics from Fabric Godmother, Croftmill and Sew Over It.  With this one top I ve got no idea where I ll ever find the time to sew it all, but thats a nice problem to have!!


This is my favourite (difficult to photograph!) its wool & stretchy in a 1m40 repeat - black on one side, purple on the other and a gradient in between.  Its going to look fab in a dress.  This photo really doesn't do it justice.


A grey jersey. for a winter top...  I m thinking Tilly Buttons Agnes or maybe a cowl neck


A heavyweight Liberty cotton for a sleeved shift dress:


Liberty tana lawn geometric print:


Apparently this is a Missoni wool- got the end of a roll and I m thinking either a cosy jumper or else I may make up some scarves.  I ve not sewn anything like this before, lets see how that goes.


A lightweight jersey that I ll keep for a summer top next year:

 Now this one I m undecided on.  My husbands face when I showed him kind of put me off!  Its a good quality jersey with a black stripe and bright feathers.  Its very cheerful!  Lets see what it looks like made up.

And the best news- thanks to the Lidl sale I now have an overlocker!!  Yay!  I ve got a very sore arm now though as I d not anticipated how much it weighed - pushing a pram with one arm and carrying that with the other hasn't done my arm any favours!!  Just need to get some thread for it now and lets see what magic it can work on my jerseys.

What have you bought recently?  What do you think of the feather number?!

Saturday 10 October 2015

Pattern Hacking – 3 blouse looks, $1 pattern!!


I just finished 2 different projects of the same pattern – somewhat hacked to create totally different looks.  The pattern is Burda #128, a simple button up sleeveless blouse that I bought in their $1 promotion!  Its my first print at home pattern and although not a fan of all the printing, sticking and cutting, for $1 I can live with it!  Here is the pattern, I bought it because I love the neckline !  I don’t have huge amounts of time to sew so I like patterns I can do quick and I tend to sew a version of the same thing twice as I find once I’ve conquered a pattern  I can do a second one much quicker & better – and I tend to make a few pattern adaptations so the end garment looks different.
Pattern pic

So how did I find the pattern?   Its ok, but the instructions around sewing the neckline aren’t great. My top tips for this pattern are
  • For the neckline, the way the folds should look before you attach it to the back piece/collar is as follows.  This isn’t how it looked when  I followed the fold lines on the pattern, but with a bit of experimentation I decided this was right
  • The collar pattern piece is way too small.  Cut it like 3 times bigger than the pattern (easy to trim it down when in place but you can’t make it any bigger if you follow the pattern)
  • I found it easier to make the collar front & back as one piece so you can just fold over
  • The collar piece attaches to the back with the short end, not the long end  (why don’t patterns tell you these details!!)
  • When you attach the front to the back/collar, you want to sew in a straight line.  Sounds obvious but with how the collar attaches, the temptation is to have an angle in it, but don’t keep sewing straight & trim off the excess
  • Ensure the collar piece extends beyond the front when you attach it the front so you ve something to fold over
  • Once you’ve got this bit cracked, the rest is totally straightforward!!


Pattern Hack 1:  So my first project was to do the pattern without buttons.  I have an aversion to sewing buttons & button holes.  I’ve made a fair few mistakes sewing button holes in the past and I hate handsewing so attaching buttons isn’t my favourite task either.   So for this one, instead of cutting 2 of the front pieces, I just cut it on the fold.    This worked well, however for me the neckline was then a bit low & a bit baggy, never fear- I therefore folded it over a bit and added a button and was very happy with this ‘structural’ neckline that is quite distinctive!  I added a small cap sleeve as I thought that looked best to balance out the neckline.
Note on this first one I made a mess of the collar.  I cut the piece way too small so I ended up sewing a second collar totally over the first one to fix it.  Anyway I think it looks ok and shows you can salvage it if you go wrong first time!  I would have unpicked it but the fabric is a little delicate for that.
I m loving this one!  Fabric is from Croftmill


Pattern hack 2:  I totally love this Liberty feather tana lawn so this was my inspiration for number 2. I only had 1
  precious metre so I needed to stretch it as far as possible.  This time I did the button up version.  Neckline was fine second time round as I started off with a much bigger collar piece. 
My hacks this time were:
-        Adding sleeves (I just took a sleeve pattern off another top that looked like it would fit and made the sleeves as long as I could with the fabric I had left!!)  I found some binding in the perfect blue colour so used a bit of that as an accent around the sleeve (and inside collar)
-        Detachable pussybow!  This I’m super happy with & can’t believe I didn’t think of this before!!  I love pussybow blouses but with a 1 yr old they are not the most practical as he tries to swing off them and they dangle in his face when I try to put him in & out of his pushchair!!  So this was the ultimate solution & means I have 2 tops in one. I finished the neckline of the top as per the pattern then made the pussybow with just a very long strip of fabric. At the moment I ve just left it totally loose – when its worn on top of the blouse you can’t tell its loose and its easy to take off.  But you could add a button at the back to hold in place if you wished!  Here it is with & without the bow!  Can’t believe I managed the entire blouse out of 1 metre! 


-        So there we have it – 3 tops really  from the same pattern- very happy with them!!  What have you pattern hacked recently?   MessyEssyMakes xx


Saturday 3 October 2015

the trials and tribulations of my first sew!

First up I thought I d share my first creation.  Warning, what comes next it not a success story L  

About a year ago, all excited with my sparkly new Janome & a slightly over eager fabric haul meaning I had enough to keep sewing for months on end I decided to jump right in. No sewing experience whatsoever, except hours of watching my mum sew when I was a kid and even more hours shopping thinking ‘that doesn’t look too hard to make’.  So I guess at this point most people do a sewing class or buy an ‘easy’ pattern, some cheap cotton and start at the beginning. Lacking patience to practice and with a slight over dose of optimism 
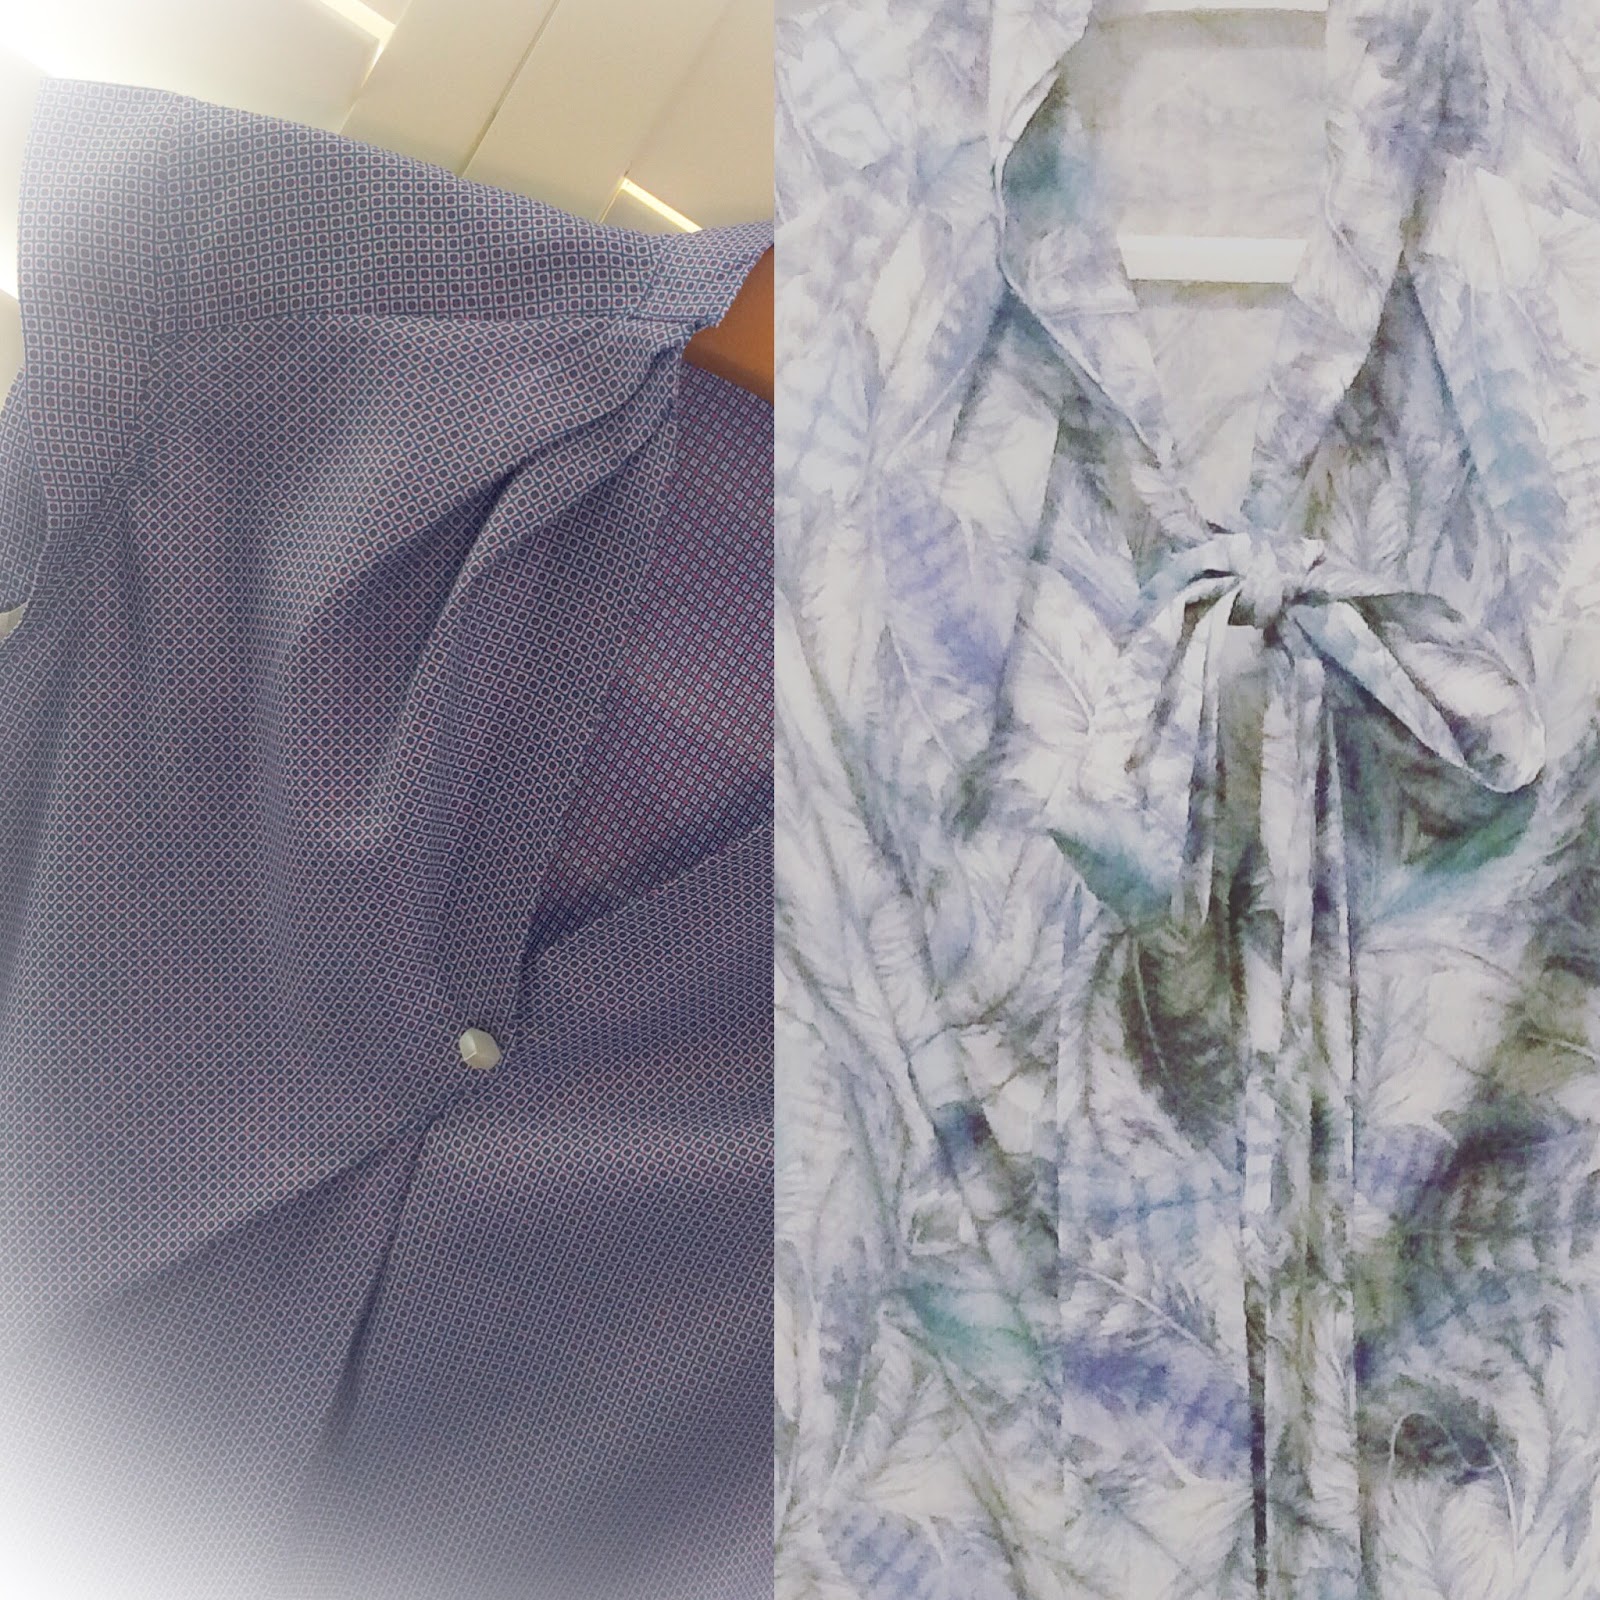
I jumped straight in on trying to make a skirt from a beautiful, but delicate teal herringbone tweed wool fabric.  Oh and I decided against using a pattern, I had in my head a simple pencil style skirt with a few front pleats that  I thought I could create .  And of course I wanted to line it.  I hadn’t got a clue what type of needles, thread or anything else was needed (I don’t even think I knew that different needles existed!)

Well it was slow progress.  Sew.  Unpick,   Sew, Unpick some more.  Watch the delicate fabric start to give up on me in places.  Take it in a bit to cover those bits.  I started with the skirt then did a lining to match afterwards  (not sure why I didn’t think it logical to experiment on my lining fabric but hindsight is a wonderful thing!).  After many hours of sewing (I mean many hours.  Not many hours on one day, but many hours on several days) A skirt started to emerge. It was a little on the tight side as I’d taken it in too much – but it was still a skirt and looking quite good!

I’d no idea how to put a zipper in so I did watch a few You Tube videos.  One thing I failed to spot is that there is such a thing as a zipper foot.  So there is me trying to put the stupid thing in with a normal foot – which obviously doesn’t work too well.  I ended up kind of trying to sew it in by hand because I couldn’t work out how to sew close enough to the zipper (oh Zipper foot where were you!!) 
So I got that far and then did the waistband.  Well it didn’t go to well.  I just cut a big strip of fabric and sewed it on (that’s all there is to it , right?!)  It gaped at one side, looking terrible (and since I d already bought a rather expensive shirt to wear tucked into this skirt I needed it to look  ok.  So then I tried to alter it and made a mess of it, cue my next addition, a little flap over with some buttons added to cover my mess.  I was quite happy that it managed to look ok.


And then it was pretty much done.  One final press of the iron and it was ready for its debut.  Oh and maybe you can guess what comes next, first touch of the iron and I get that dreaded burning smell.  Iron too hot, straight through the fabric.  My tears start to hiss as they patter onto the iron.  Its on the dreaded waistband. 


I ve kept the skirt.  Never worn it.  Its got the burn hole, its too small and frankly I think it’s a bit fragile that I think if I did try to wear it, there is a distinct possibility it doesn’t keep me modestly covered for long.  I ll keep it.  For memories sake.  It actually looks quite nice when you excuse the minor detail of the burn and the fact it doesn’t it.


So needless to say, since then I generally use a pattern.  I often hack a pattern or cut off an existing favourite item, but starting with a blank sheet of paper, not for me- well at least until I get a bit better at this sewing thing!    Oh and I ve bought needles for different jobs and feet that do different things too.  What a revolution! Who knew putting an invisible zip in could be so straightforward!!!
Anyway I got the bug.  I took a little rest from sewing for a few days, but armed with my new supplies, project 2 was a little more successful I’m happy to report.  More on that another day.

Messy Essy xx